Why use cached models?
- Faster cold starts: Using cached models can reduce times to just a few seconds, even for large models.
- Reduced costs: You aren’t billed for worker time while your model is being downloaded. This is especially impactful for large models that can take several minutes to load.
- Accelerated deployment: You can deploy cached models instantly without waiting for external downloads or transfers.
- Smaller container images: By decoupling models from your container image, you can create smaller, more focused images that contain only your application logic.
- Shared across workers: Multiple running on the same host can reference the same cached model, eliminating redundant downloads and saving disk space.
Cached model compatibility
Cached models work with any model hosted on Hugging Face, including:- Public models: Any publicly available model on Hugging Face.
- Gated models: Models that require you to accept terms (provide a Hugging Face access token).
- Private models: Private models your Hugging Face token has access to.
How it works
When you select a cached model for your endpoint, Runpod automatically tries to start your workers on hosts that already contain the selected model. If no cached host are available, the system delays starting your workers until the model is downloaded onto the machine where your workers will run, ensuring you still won’t be charged for the download time.Enable cached models
Follow these steps to select and add a cached model to your endpoint:1
Create a new endpoint
Navigate to the Serverless section of the console and click New Endpoint.
2
Configure the model
In the Endpoint Configuration step, scroll down to Model and add the link or path for the model you want to use.For example, 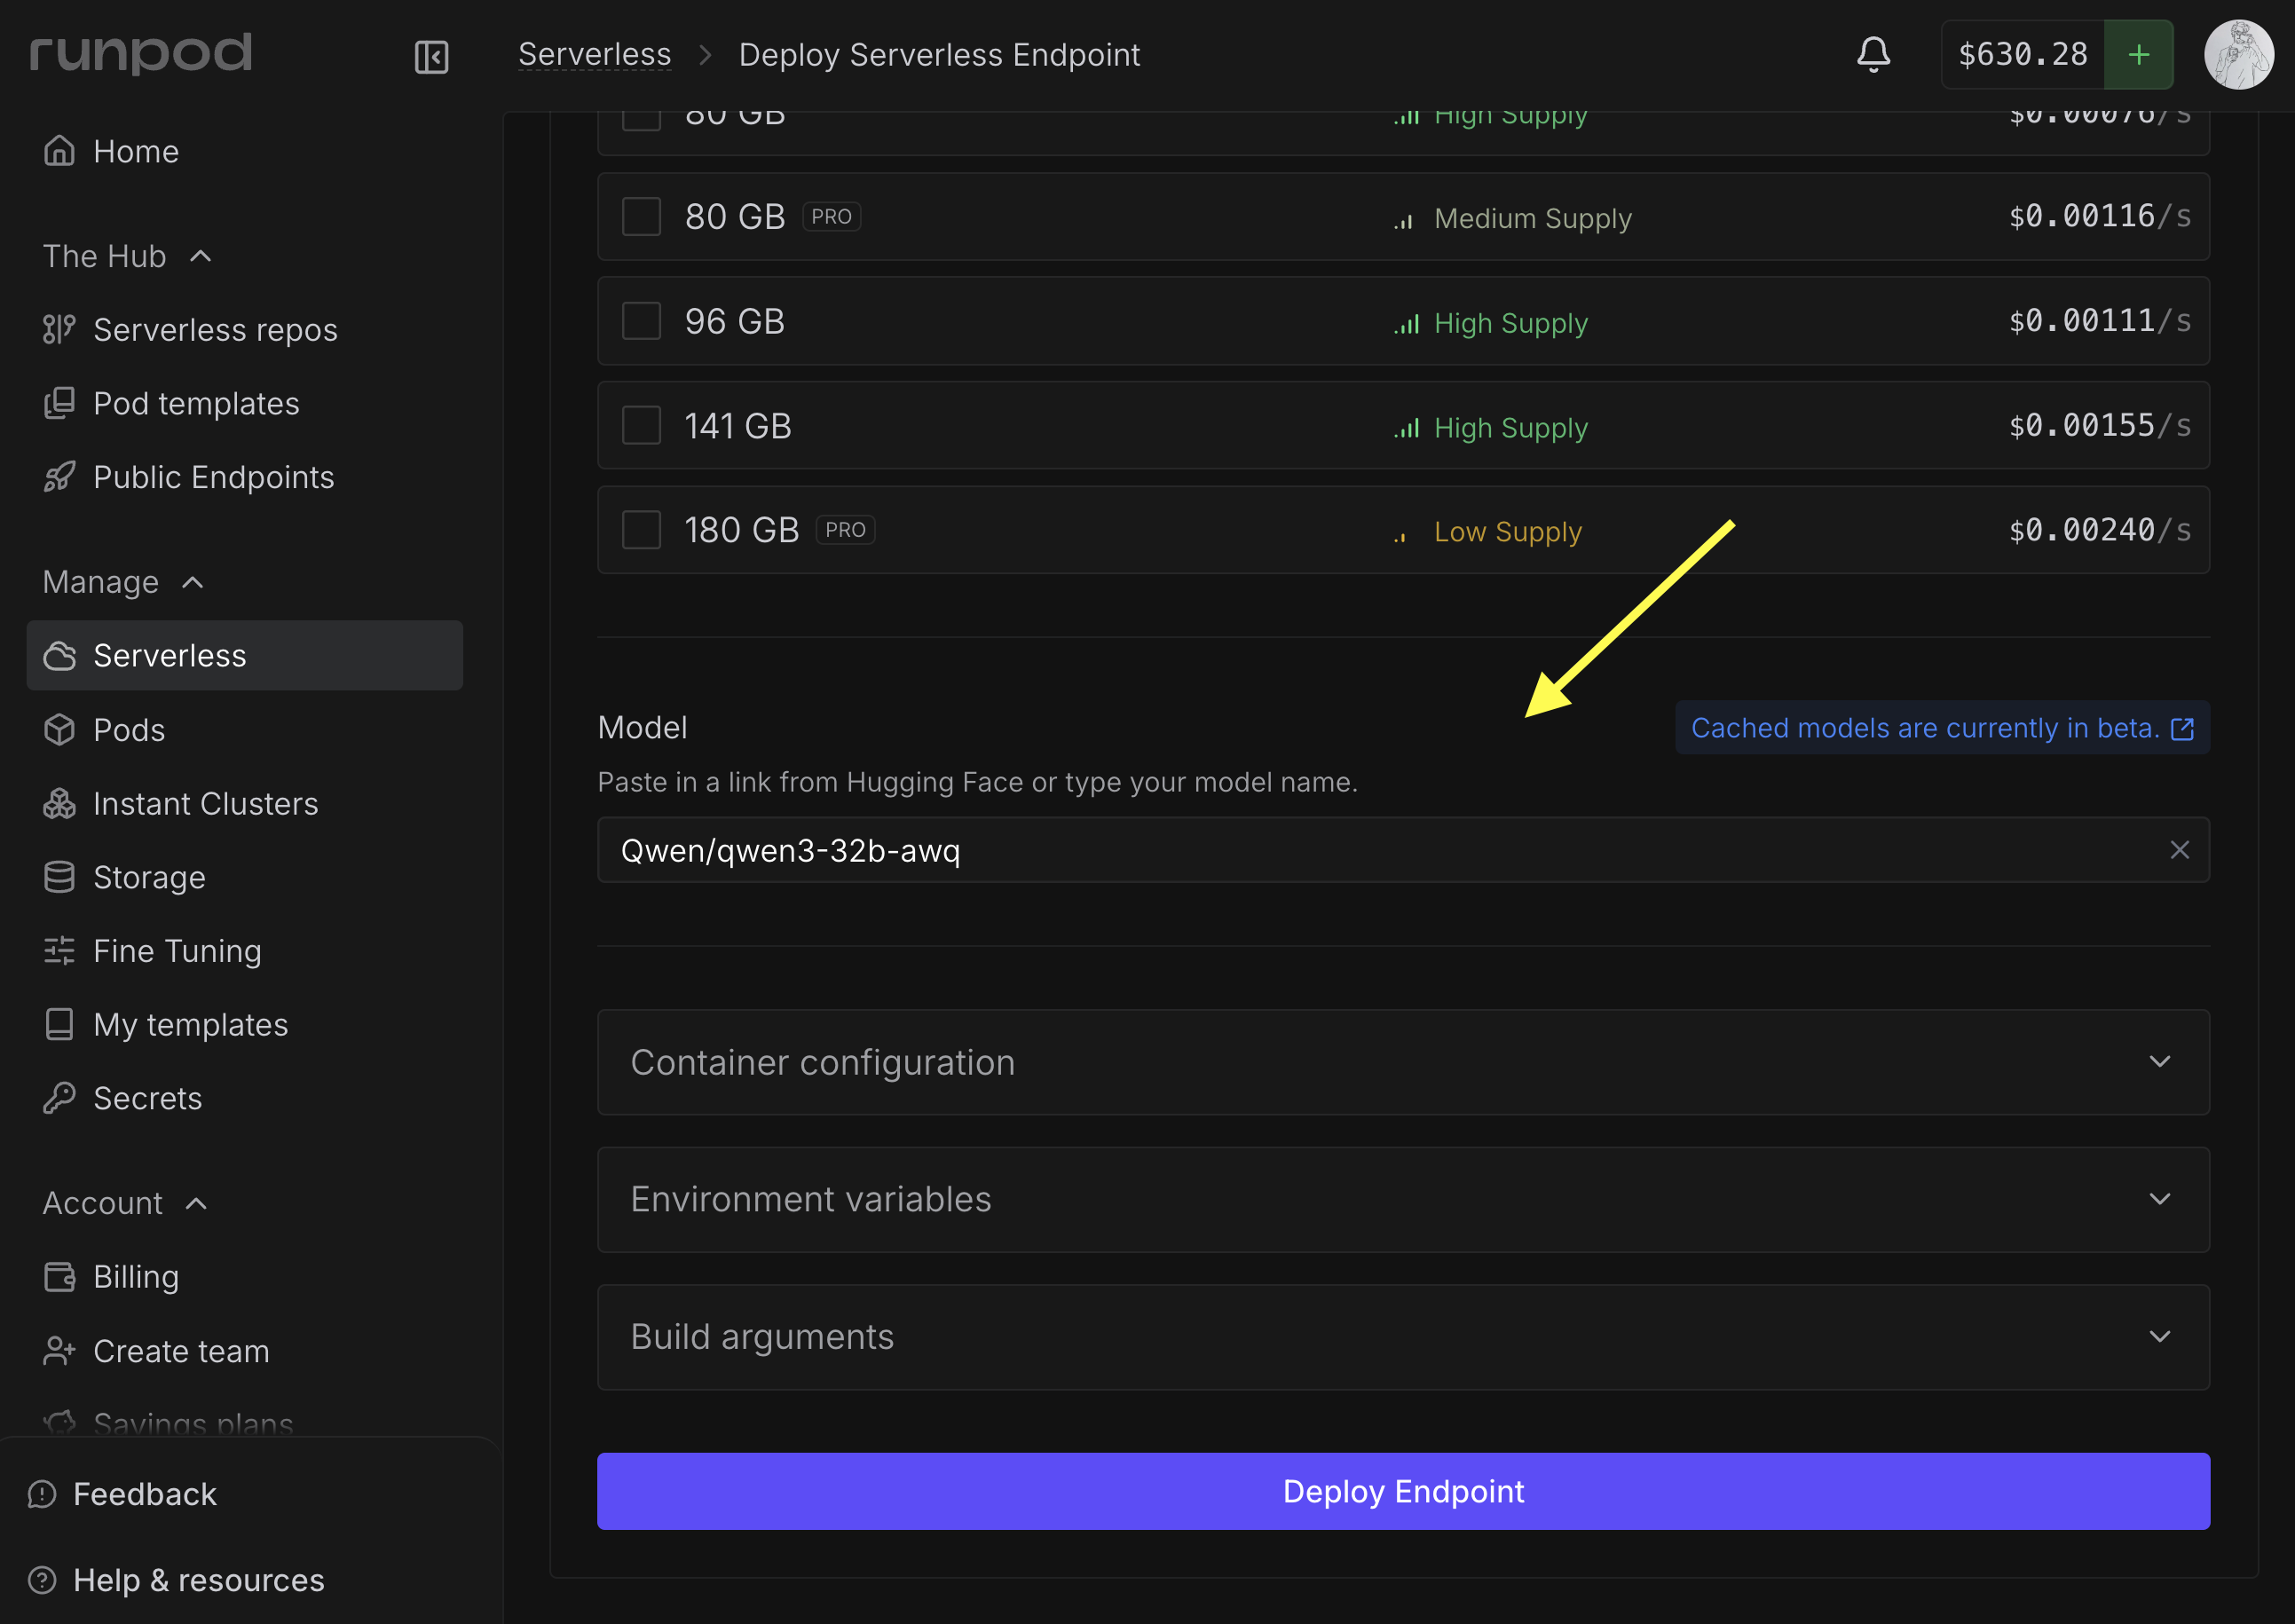
Qwen/qwen3-32b-awq.3
Add an access token (if needed)
If you’re using a gated model, you’ll need to enter a Hugging Face access token.
4
Deploy the endpoint
Complete your endpoint configuration and click Deploy Endpoint .
Using cached models in your workers
When using vLLM workers or other official Runpod worker images, you can usually just set the Model field as shown above (or use theMODEL_NAME environment variable), and your workers will automatically use the cached model for inference.
To use cached models with custom workers, you’ll need to manually locate the cached model path and integrate it into your worker code.
Where cached models are stored
Cached models are available to your workers at/runpod-volume/huggingface-cache/hub/ following Hugging Face cache conventions. The directory structure replaces forward slashes (/) from the original model name with double dashes (--), and includes a version hash subdirectory.
While cached models use the same mount path as network volumes (
/runpod-volume/), the model loaded from the cache will load significantly faster than the same model loaded from a network volume.gensyn/qwen2.5-0.5b-instruct would be stored:
runpod-volume
huggingface-cache
hub
models--gensyn--qwen2.5-0.5b-instruct
refs
main
snapshots
abcdef1234567890...
Locate cached models in your handler
To use a cached model in your , you need to resolve the local path to the model files. The path follows a predictable pattern based on the model identifier:Qwen/Qwen2.5-0.5B-Instruct would be stored at:
Examples and resources
Hugging Face integration
Learn how to adapt your Transformers code to use cached models
Cached model tutorial
End-to-end walkthrough deploying Phi-3 with model caching
Example repository
Sample worker using cached models for LLM inference
vLLM workers
Pre-built workers with automatic cached model support
Current limitations
- Each endpoint is currently limited to one cached model at a time.
- If a Hugging Face repository contains multiple quantization versions of a model (for example, 4-bit AWQ and 8-bit GPTQ versions), the system currently downloads all quantization versions. The ability to select specific quantizations will be available in a future update.