hub.json
and tests.json
files.
After you publish your repository to the Hub, you can start earning revenue from your users’ compute usage. For details, see Revenue sharing.

How to publish your repo
Follow these steps to add your repository to the Hub:- Navigate to the Hub page in the Runpod console.
- Under Add your repo click Get Started.
- Enter your GitHub repo URL.
- Follow the UI steps to add your repo to the Hub.
- Create your
hub.json
andtests.json
files. - Ensure your repository contains a
handler.py
,Dockerfile
, andREADME.md
file (in either the.runpod
or root directory). - Create a new GitHub release (the Hub indexes releases, not commits).
- (Optional) Add a Runpod Hub badge into your GitHub
README.md
file, so that users can instantly deploy your repo from GitHub.
Update a repo
To update your repo on the Hub, just create a new GitHub release, and the Hub listing will be automatically indexed and built (usually within an hour).Required files
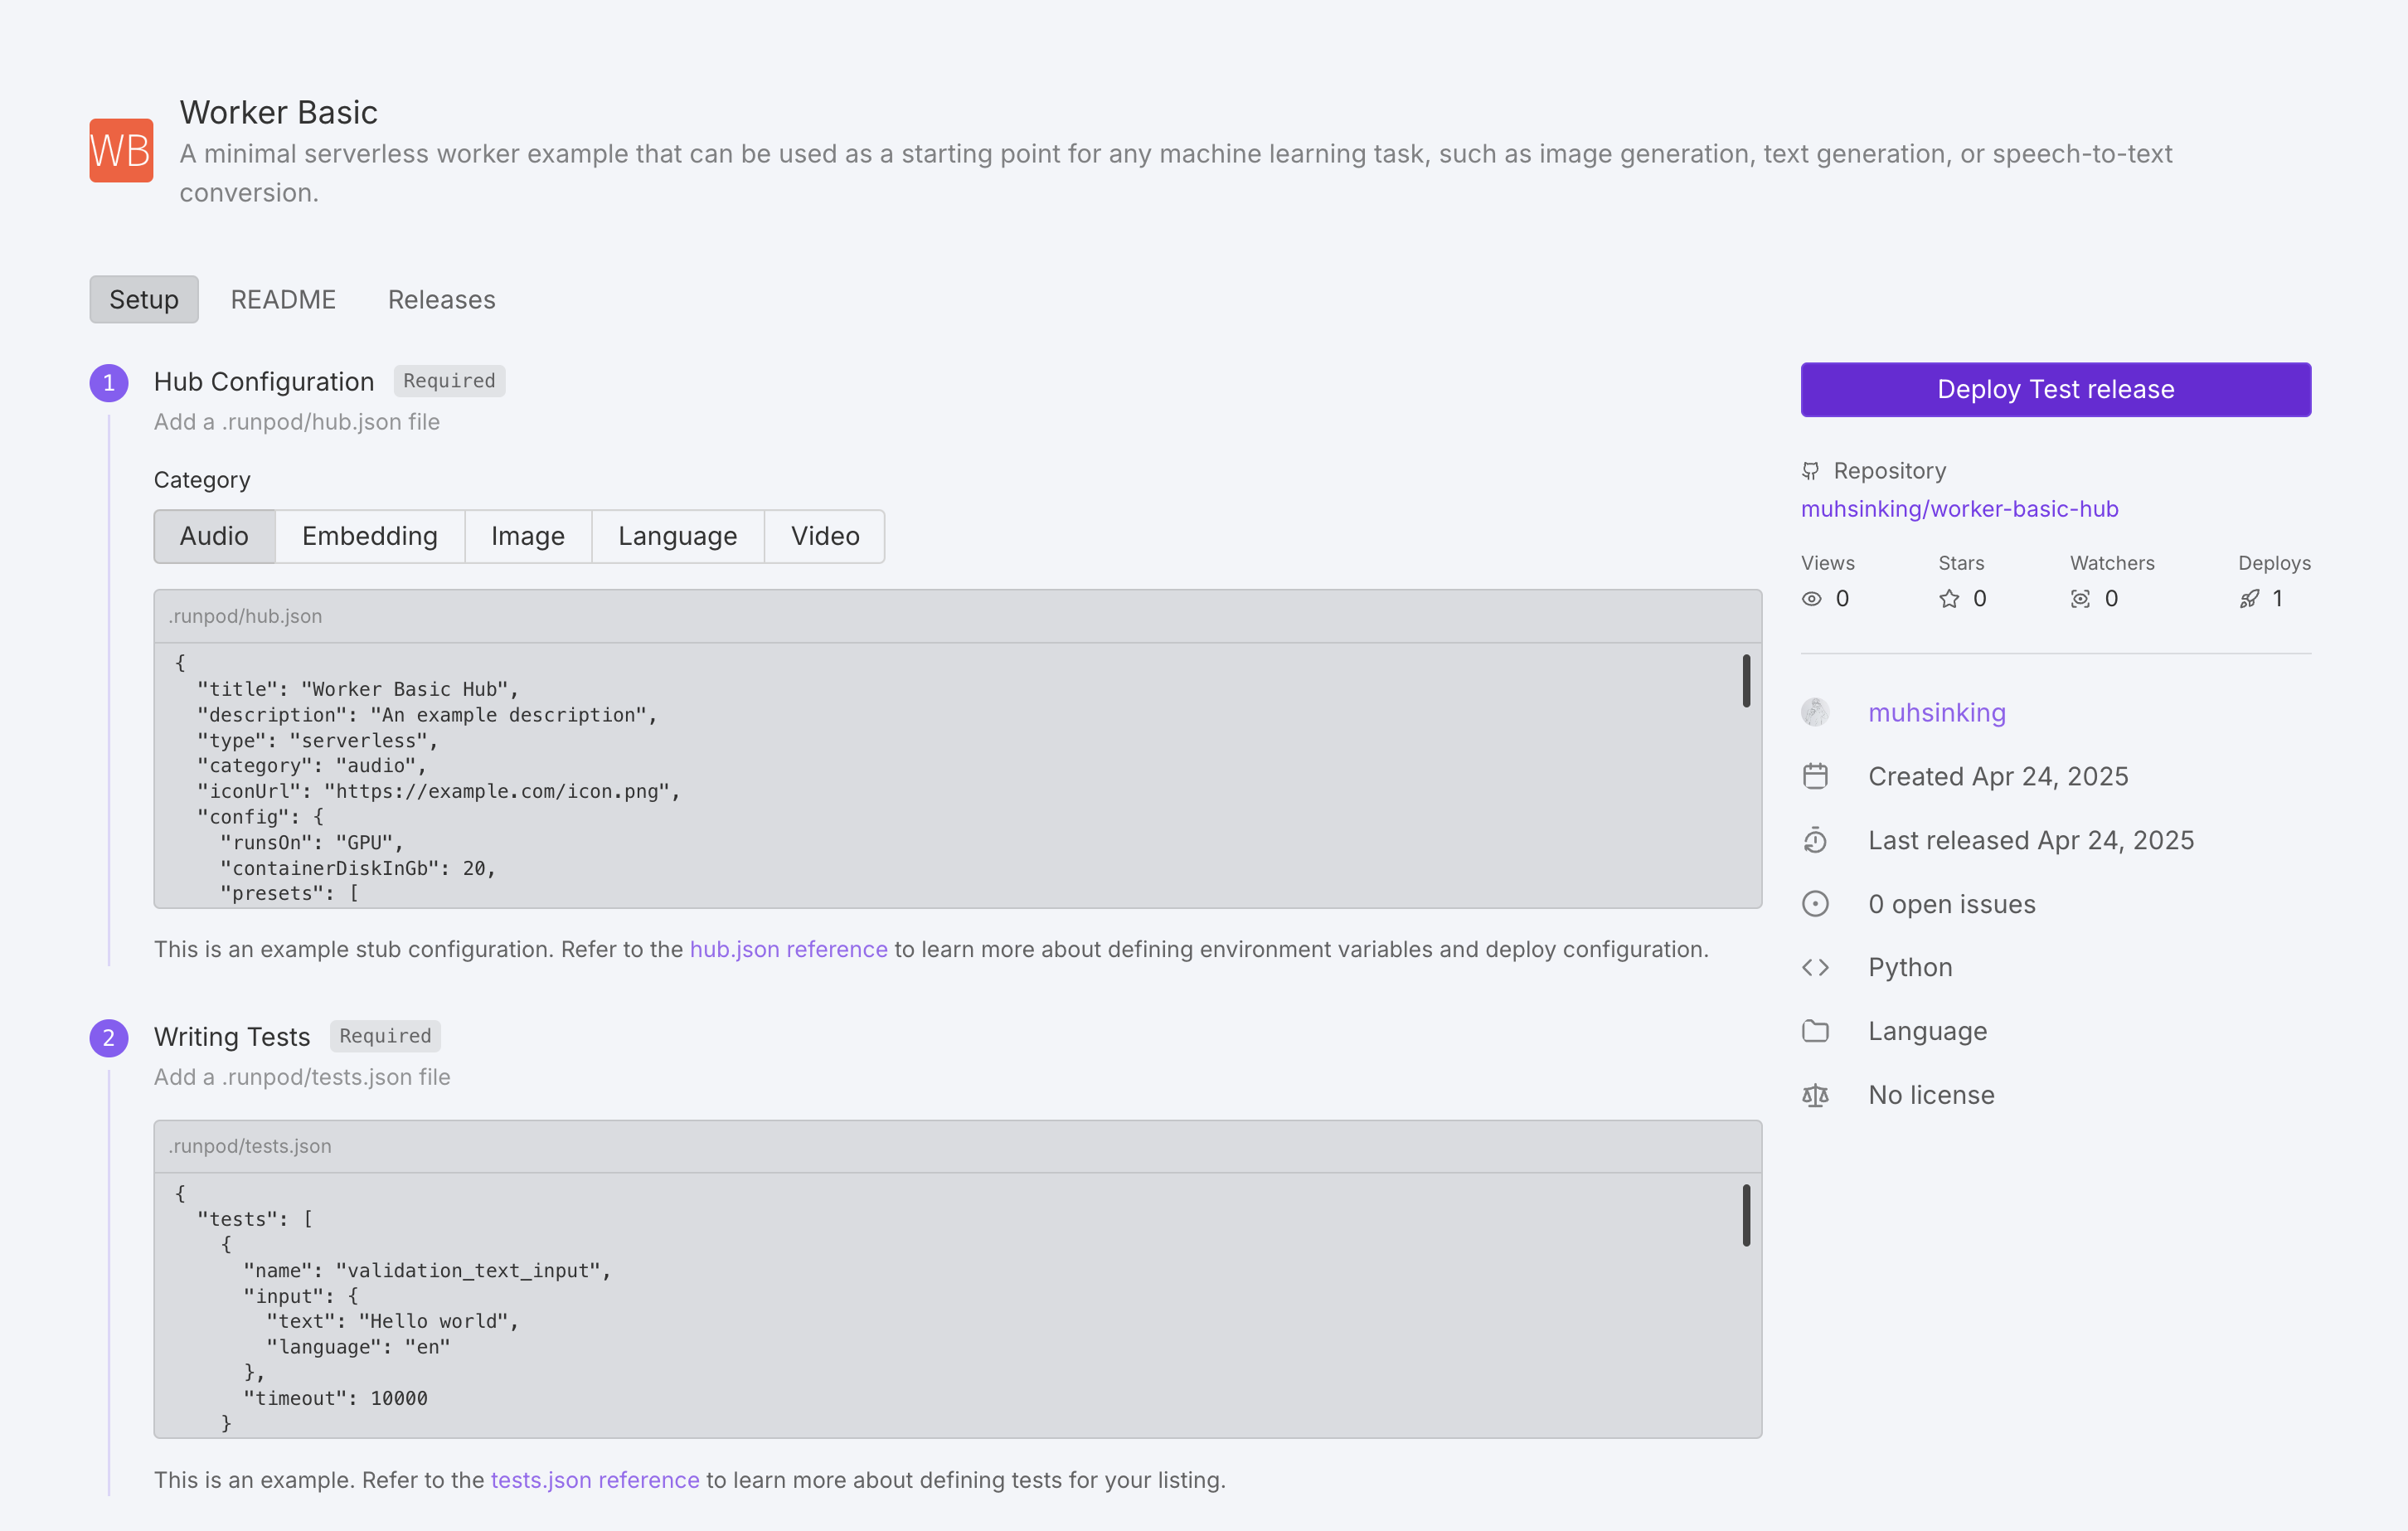
Aside from a working Serverless implementation, every Hub repo requires two additional configuration files:hub.json
- Defines metadata and deployment settings for your repo.tests.json
- Specifies how to test your repo.
.runpod
directory at the root of your repository. This directory takes precedence over the root directory, allowing you to override common files like Dockerfile
and README.md
specifically for the Hub.
hub.json reference
Thehub.json
file defines how your listing appears and functions in the Hub.
You can build your hub.json
from scratch, or use this template as a starting point.
General metadata
Field | Description | Required | Values |
---|---|---|---|
title | Name of your tool | Yes | String |
description | Brief explanation of functionality | Yes | String |
type | Deployment type | Yes | "serverless" |
category | Tool category | Yes | "audio" , "embedding" , "language" , "video" , or "image" |
iconUrl | URL to tool icon | No | Valid URL |
config | Runpod configuration | Yes | Object (see below) |
Runpod configuration
Field | Description | Required | Values |
---|---|---|---|
runsOn | Machine type | Yes | "GPU" or "CPU" |
containerDiskInGb | Container disk space allocation | Yes | Integer (GB) |
cpuFlavor | CPU configuration | Only if runsOn is "CPU" | Valid CPU flavor string. For a complete list of available CPU flavors, see CPU types |
gpuCount | Number of GPUs | Only if runsOn is "GPU" | Integer |
gpuIds | GPU pool specification | Only if runsOn is "GPU" | Comma-separated pool IDs (e.g., "ADA_24" ) with optional GPU ID negations (e.g., "-NVIDIA RTX 4090" ). For a list of GPU pools and IDs, see GPU types. |
allowedCudaVersions | Supported CUDA versions | No | Array of version strings |
env | Environment variable definitions | No | Object (see below) |
presets | Default environment variable values | No | Object (see below) |
Environment variables
Environment variables can be defined in several ways:-
Static variables: Direct value assignment. For example:
-
String inputs: User-entered text fields. For example:
-
Hugging Face inputs: Fields for model selection from Hugging Face Hub. For example:
-
Option inputs: User selected option fields. For example:
-
Number Inputs: User-entered numeric fields. For example:
-
Boolean Inputs: User-toggled boolean fields. For example:
"advanced": true
.
Presets
Presets allow you to define groups of default environment variable values. When a user deploys your repo, they’ll be offered a dropdown menu with any preset options you’ve defined. Here are some example presets:hub.json template
Here’s an examplehub.json
file that you can use as a starting point:
hub.json
tests.json reference
Thetests.json
file defines test cases to validate your tool’s functionality. Tests are executed during the build step after a release has been created. A test is considered valid by the Hub if the endpoint returns a 200 response.
You can build your tests.json
from scratch, or use this template as a starting point.
Test cases
Each test case should include:Field | Description | Required | Values |
---|---|---|---|
name | Test identifier | Yes | String |
input | Raw job input payload | Yes | Object |
timeout | Max execution time | No | Integer (milliseconds) |
Test environment configuration
Field | Description | Required | Values |
---|---|---|---|
gpuTypeId | GPU type for testing | Only for GPU tests | Valid GPU ID (see GPU types) |
gpuCount | Number of GPUs | Only for GPU tests | Integer |
cpuFlavor | CPU configuration for testing | Only for CPU tests | Valid CPU flavor string (see CPU types) |
env | Test environment variables | No | Array of key-value pairs |
allowedCudaVersions | Supported CUDA versions | No | Array of version strings |
tests.json template
Here’s an exampletests.json
file that you can use as a starting point:
tests.json
Revenue sharing
Starting in September 2025, every repository published to the Runpod Hub automatically generates revenue for its maintainers. When users deploy your repositories from the Hub to run on Runpod infrastructure, you earn up to 7% of the compute revenue they generate, paid directly to your Runpod credit balance.How it works
Revenue share is calculated based on the total compute hours generated by users running your repositories each month. The percentage you earn depends on your monthly usage tier, with higher tiers offering better revenue rates.- Users deploy your repos: When users find and deploy your repositories from the Hub, they generate compute hours on Runpod infrastructure.
- Usage is tracked: The platform tracks all compute hours generated by deployments of your repositories.
- Monthly calculations: At the end of each month, your total compute hours are calculated and assigned to a revenue tier.
- Credits deposited: Your revenue share is automatically deposited into your Runpod account balance.
Revenue tiers
Revenue tiers reset monthly based on the total compute hours generated by all your published repositories:- 10,000+ hours: 7% revenue share
- 5,000-9,999 hours: 5% revenue share
- 1,000-4,999 hours: 3% revenue share
- 100-999 hours: 1% revenue share
- Below 100 hours: 0% revenue share
Requirements
To participate in the revenue sharing program, you must:- Link your GitHub profile: Connect your Runpod account to your GitHub profile for verified maintainer status. This ensures you receive credits for repositories you maintain.
- Have published repositories: Your repositories must be successfully published and approved in the Hub.
- Maintain active repositories: Keep your repositories up to date with working releases.