gemma-3-1b-it instruction-tuned variant, a lightweight model that runs efficiently on a variety of GPUs.
By the end, you’ll have a fully functional Serverless endpoint that can respond to chat-style prompts through the OpenAI-compatible API.
Requirements
Before starting this tutorial, you’ll need:- A Runpod account with available credits.
- A Runpod API key.
- A Hugging Face account and access token.
- Python 3.8+ installed on your local machine.
- The OpenAI Python client (
pip install openai).
Step 1: Accept Google’s terms on Hugging Face
Gemma 3 is a gated model on Hugging Face. Before deploying, go to the Gemma 3 1B model page and click Agree and access repository while logged into your Hugging Face account.Step 2: Deploy the vLLM worker
Deploy a vLLM worker through the Runpod Hub with Gemma 3 as your model:- Open the vLLM worker listing in the Runpod Hub.
- Click Deploy, using the latest vLLM worker version.
- In the Model field, enter:
google/gemma-3-1b-it. - Under Hugging Face access token, enter your Hugging Face access token.
- Click Advanced to expand the vLLM settings.
- Set Max Model Length to
8192. - Set Data Type to
bfloat16. - Click Next.
- Select a GPU with at least 16GB of VRAM (such as RTX A4000 or RTX 4000 Ada).
- Click Create Endpoint.
We’re using a lightweight model for this tutorial to reduce cost and speed up response times. For larger Gemma models, you’ll need GPUs with more VRAM.
Step 3: Note your endpoint ID
Once your endpoint is deployed, make a note of your Endpoint ID from the endpoint details page. You’ll need this to construct your API base URL.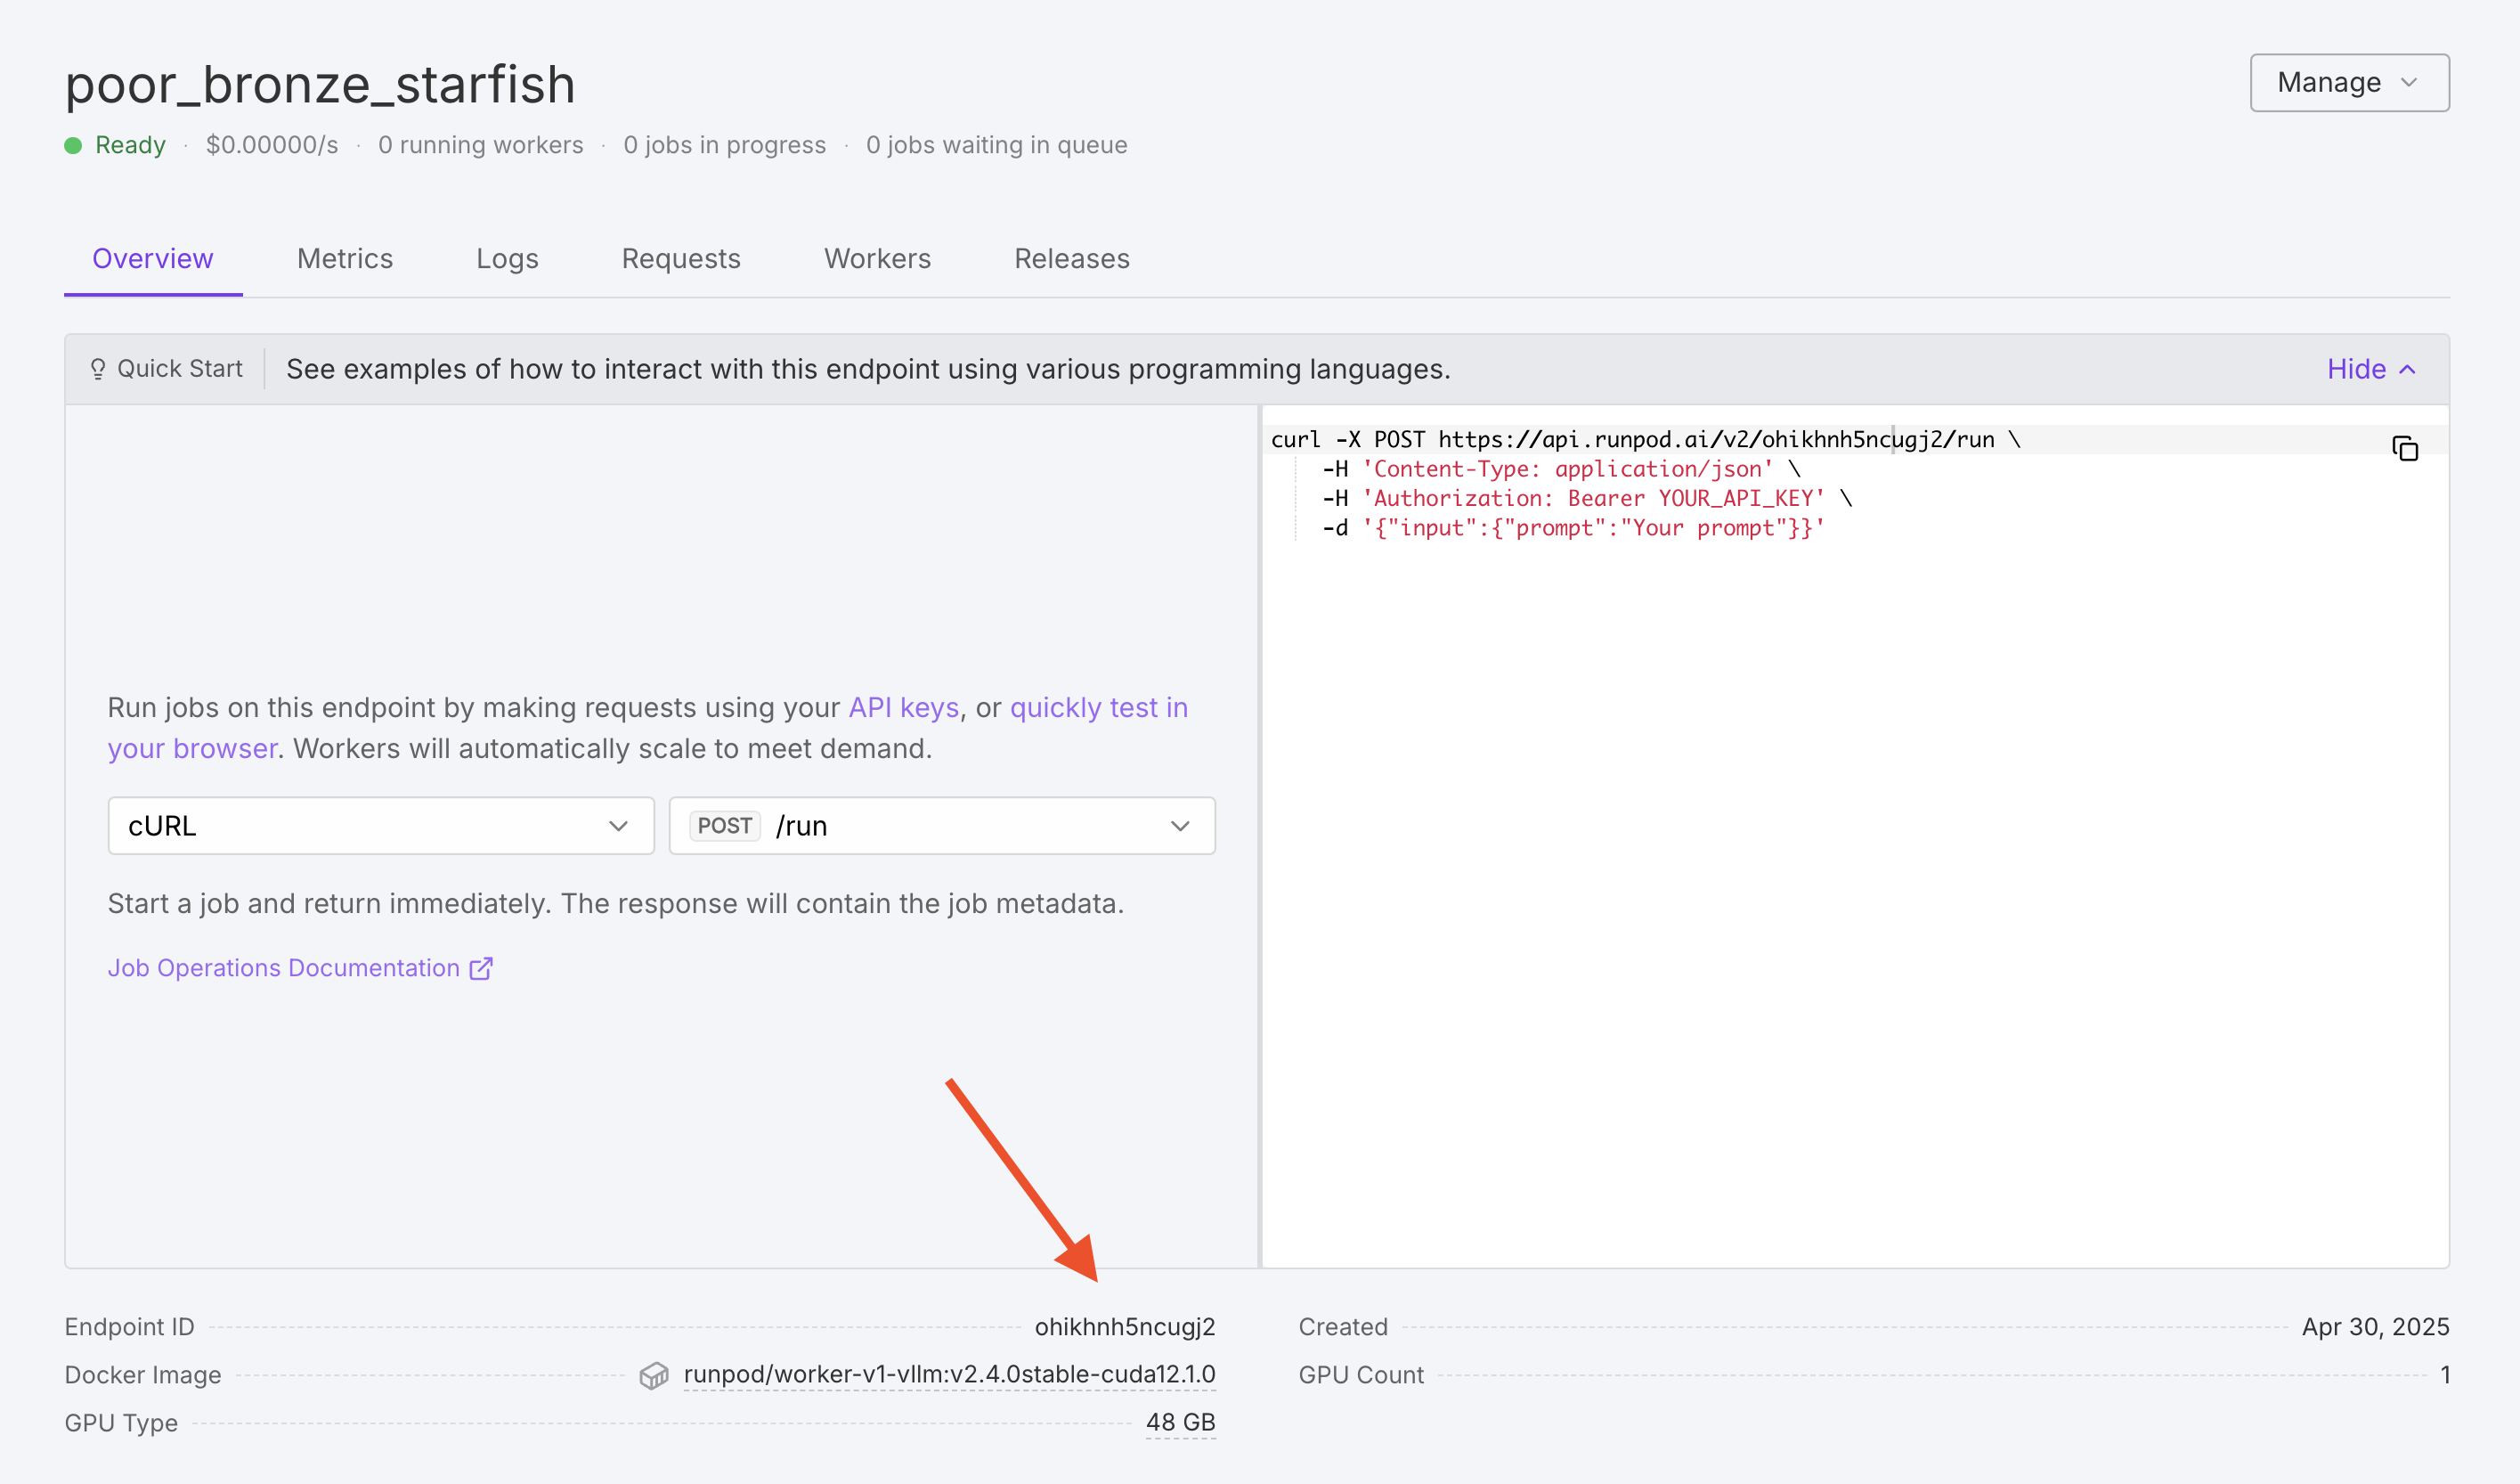
Step 4: Test your endpoint
Before building a chatbot, verify that your endpoint is working correctly using a simple test request. Set up your environment variables, replacingYOUR_RUNPOD_API_KEY and YOUR_ENDPOINT_ID with your actual API key and endpoint ID:
curl:
- Your endpoint has finished initializing (status shows “Ready”).
- Your
HF_TOKENenvironment variable is set correctly on the endpoint. - You’ve accepted Google’s terms on Hugging Face.
Step 5: Build a chatbot
With your endpoint deployed, you can interact with it using the OpenAI-compatible API. The following example creates a command-line chatbot that maintains conversation history and generates responses using your deployed model.Gemma 3 1B is a lightweight model optimized for efficiency. While it handles most conversational context well, it may give inconsistent responses to questions about personal information (like recalling names) due to its safety training. For more reliable multi-turn conversations, consider larger Gemma variants such as
gemma-3-4b-it or gemma-3-12b-it.gemma_chat.py:
gemma_chat.py
YOUR_RUNPOD_API_KEY and YOUR_ENDPOINT_ID with your actual API key and endpoint ID:
Next steps
You’ve successfully deployed Gemma 3 on Runpod Serverless and built a chatbot to interact with it. Here are some ways to extend this tutorial:- Configure your endpoint to optimize performance and cost.
- Learn about vLLM environment variables to customize model behavior.
- Explore OpenAI compatibility for features like streaming and function calling.
- Build a custom for more specialized use cases.