Requirements
- Runpod account.
- Runpod API key.
- (For gated models) Hugging Face access token.
Step 1: Choose a model
First, decide which LLM you want to deploy. The vLLM worker supports most models available on Hugging Face, including:- Llama 3 (e.g.,
meta-llama/Llama-3.2-3B-Instruct). - Mistral (e.g.,
mistralai/Ministral-8B-Instruct-2410). - Qwen3 (e.g.,
Qwen/Qwen3-8B). - OpenChat (e.g.,
openchat/openchat-3.5-0106). - Gemma (e.g.,
google/gemma-3-1b-it). - DeepSeek-R1 (e.g.,
deepseek-ai/DeepSeek-R1-Distill-Qwen-7B). - Phi-4 (e.g.,
microsoft/Phi-4-mini-instruct).
openchat/openchat-3.5-0106, but you can substitute this with any compatible model.
Step 2: Deploy using the Runpod UI
The easiest way to deploy a vLLM worker is through Runpod’s ready-to-deploy repos:- Find the vLLM repo in the Runpod Hub.
- Click Deploy, using the latest vLLM worker version.
- In the Model field, end the model name:
openchat/openchat-3.5-0106. - Click Advanced to expand the vLLM settings.
- Set Max Model Length to
8192(or an appropriate context length for your model). - Leave other settings at their defaults unless you have specific requirements, then click Next.
- Click Create Endpoint
Step 3: Find your endpoint ID
Once deployment is complete, make a note of your Endpoint ID, as you’ll need this to make API requests.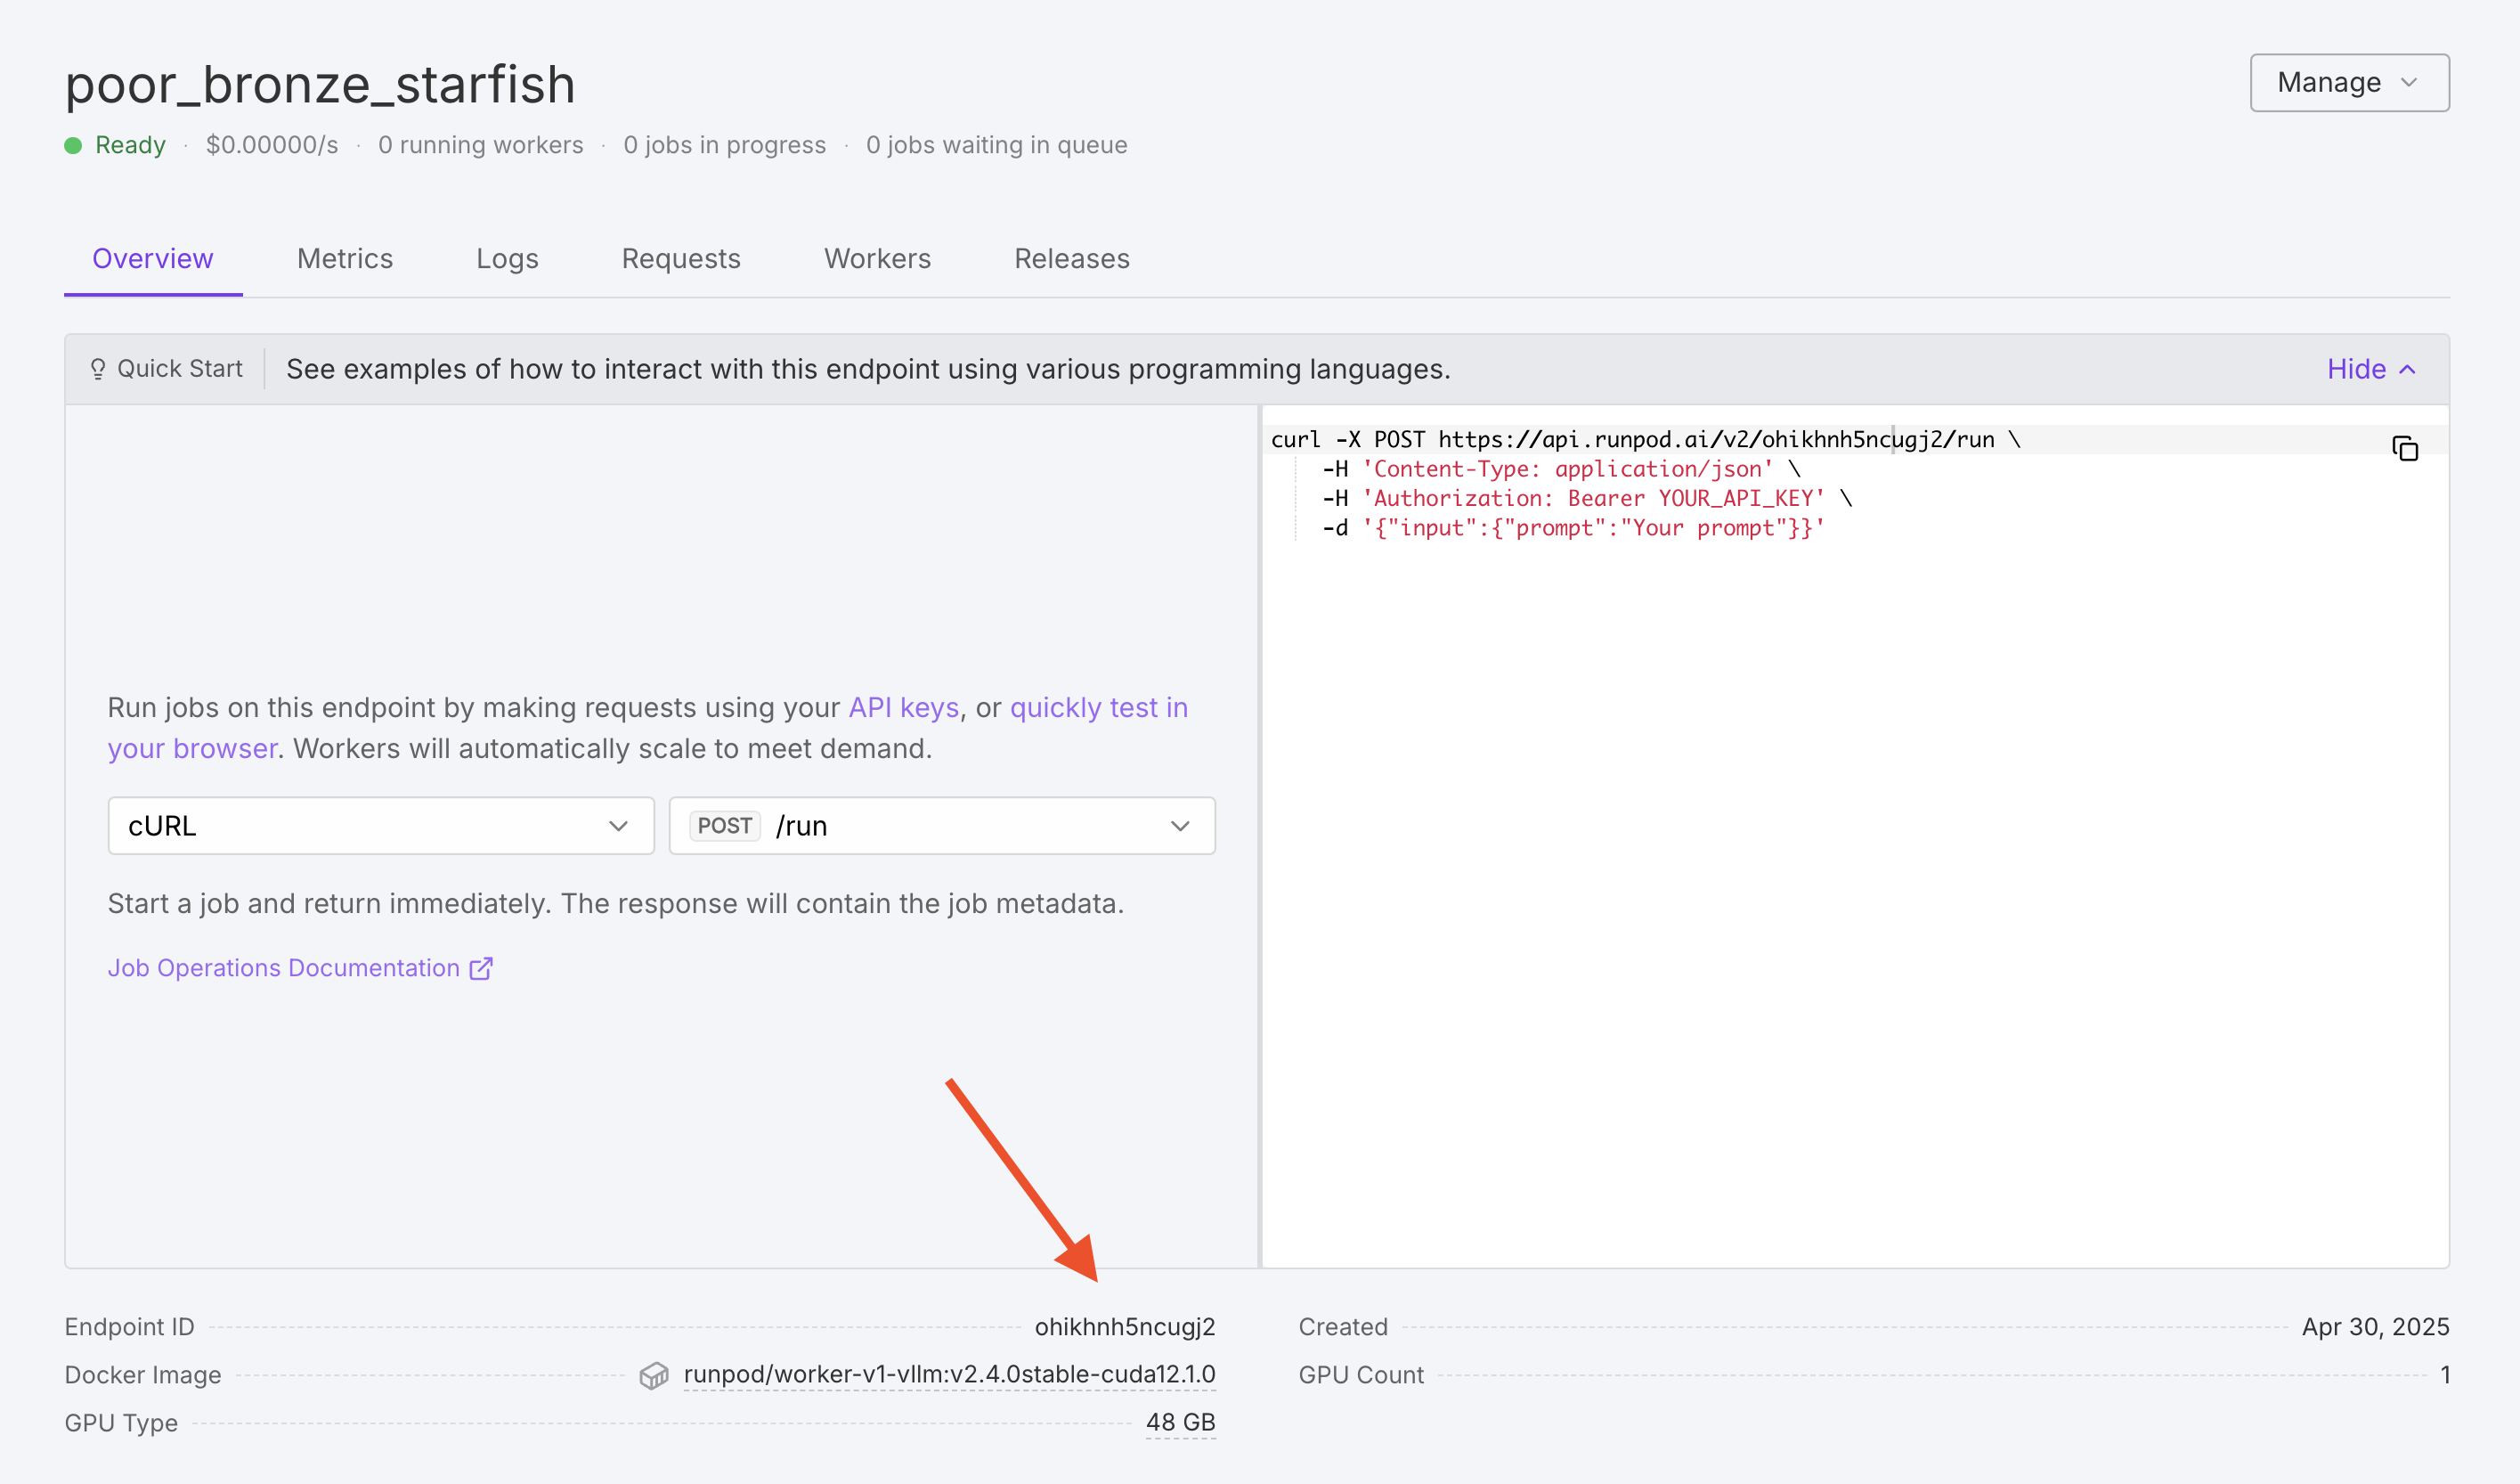
Step 4: Send a test request using the UI
To test your worker, click the Requests tab in the endpoint detail page: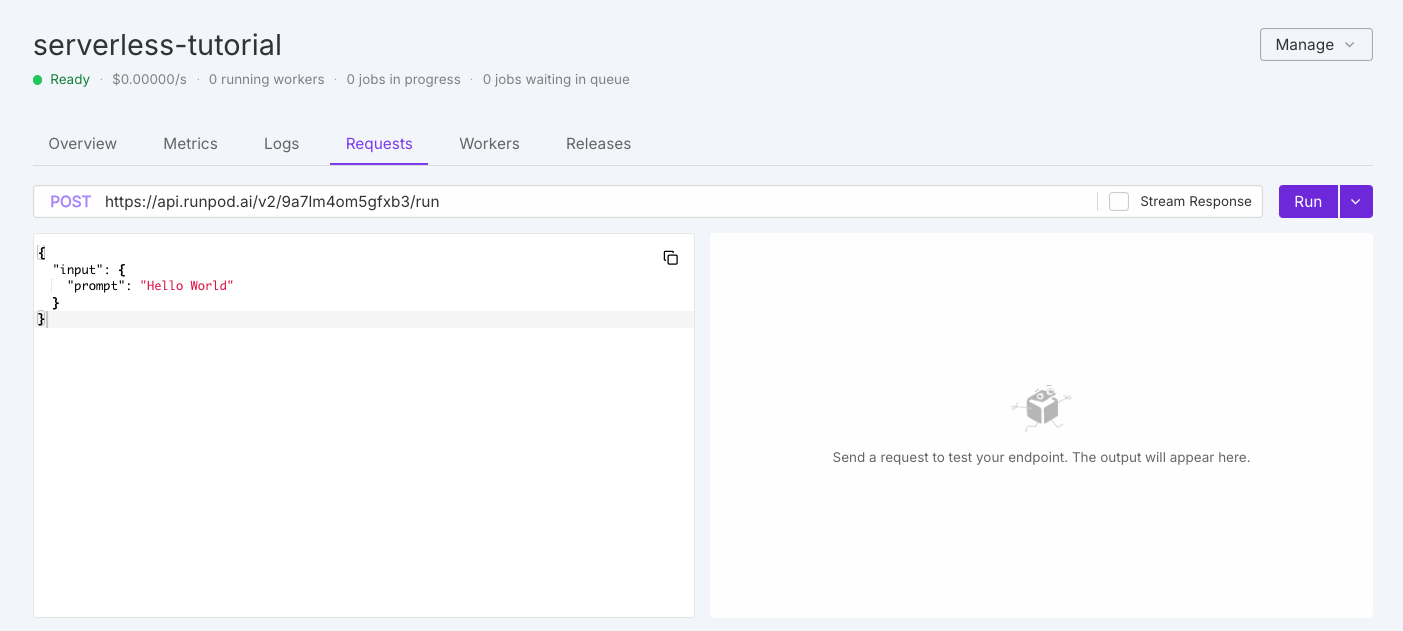
Step 5: Send a test request using the API
To send a test request using the API, use the following command, replacingYOUR_ENDPOINT_ID and YOUR_API_KEY with your actual endpoint ID and API key:
Congratulations! You’ve successfully deployed a vLLM worker on Runpod Serverless. You now have a powerful, scalable LLM inference API that’s compatible with both the OpenAI client and Runpod’s native API.
Customize your deployment with environment variables (optional)
If you need to customize your model deployment, you can edit your endpoint settings to add environment variables. Here are some useful environment variables you might want to set:MAX_MODEL_LEN: Maximum context length (e.g.,16384).DTYPE: Data type for model weights (float16,bfloat16, orfloat32).GPU_MEMORY_UTILIZATION: Controls VRAM usage (e.g.,0.95for 95%).CUSTOM_CHAT_TEMPLATE: For models that need a custom chat template.OPENAI_SERVED_MODEL_NAME_OVERRIDE: Change the model name to use in OpenAI requests.
- Go to your endpoint details page.
- Select Manage, then select Edit Endpoint.
- Expand the Public Environment Variables section.
- Add or edit your desired variables.
- Click Save Endpoint.
max_tokens parameter to increase the maximum number of tokens generated per response. To learn more, see Send vLLM requests.
Troubleshooting
If you encounter issues with your deployment:- Worker fails to initialize: Check that your model is compatible with vLLM and your GPU has enough VRAM.
- Slow response times: Consider using a more powerful GPU or optimizing your request parameters.
- Out of memory errors: Try increasing GPU size or reducing
MAX_MODEL_LEN. - API errors: Verify your endpoint ID and API key are correct.